

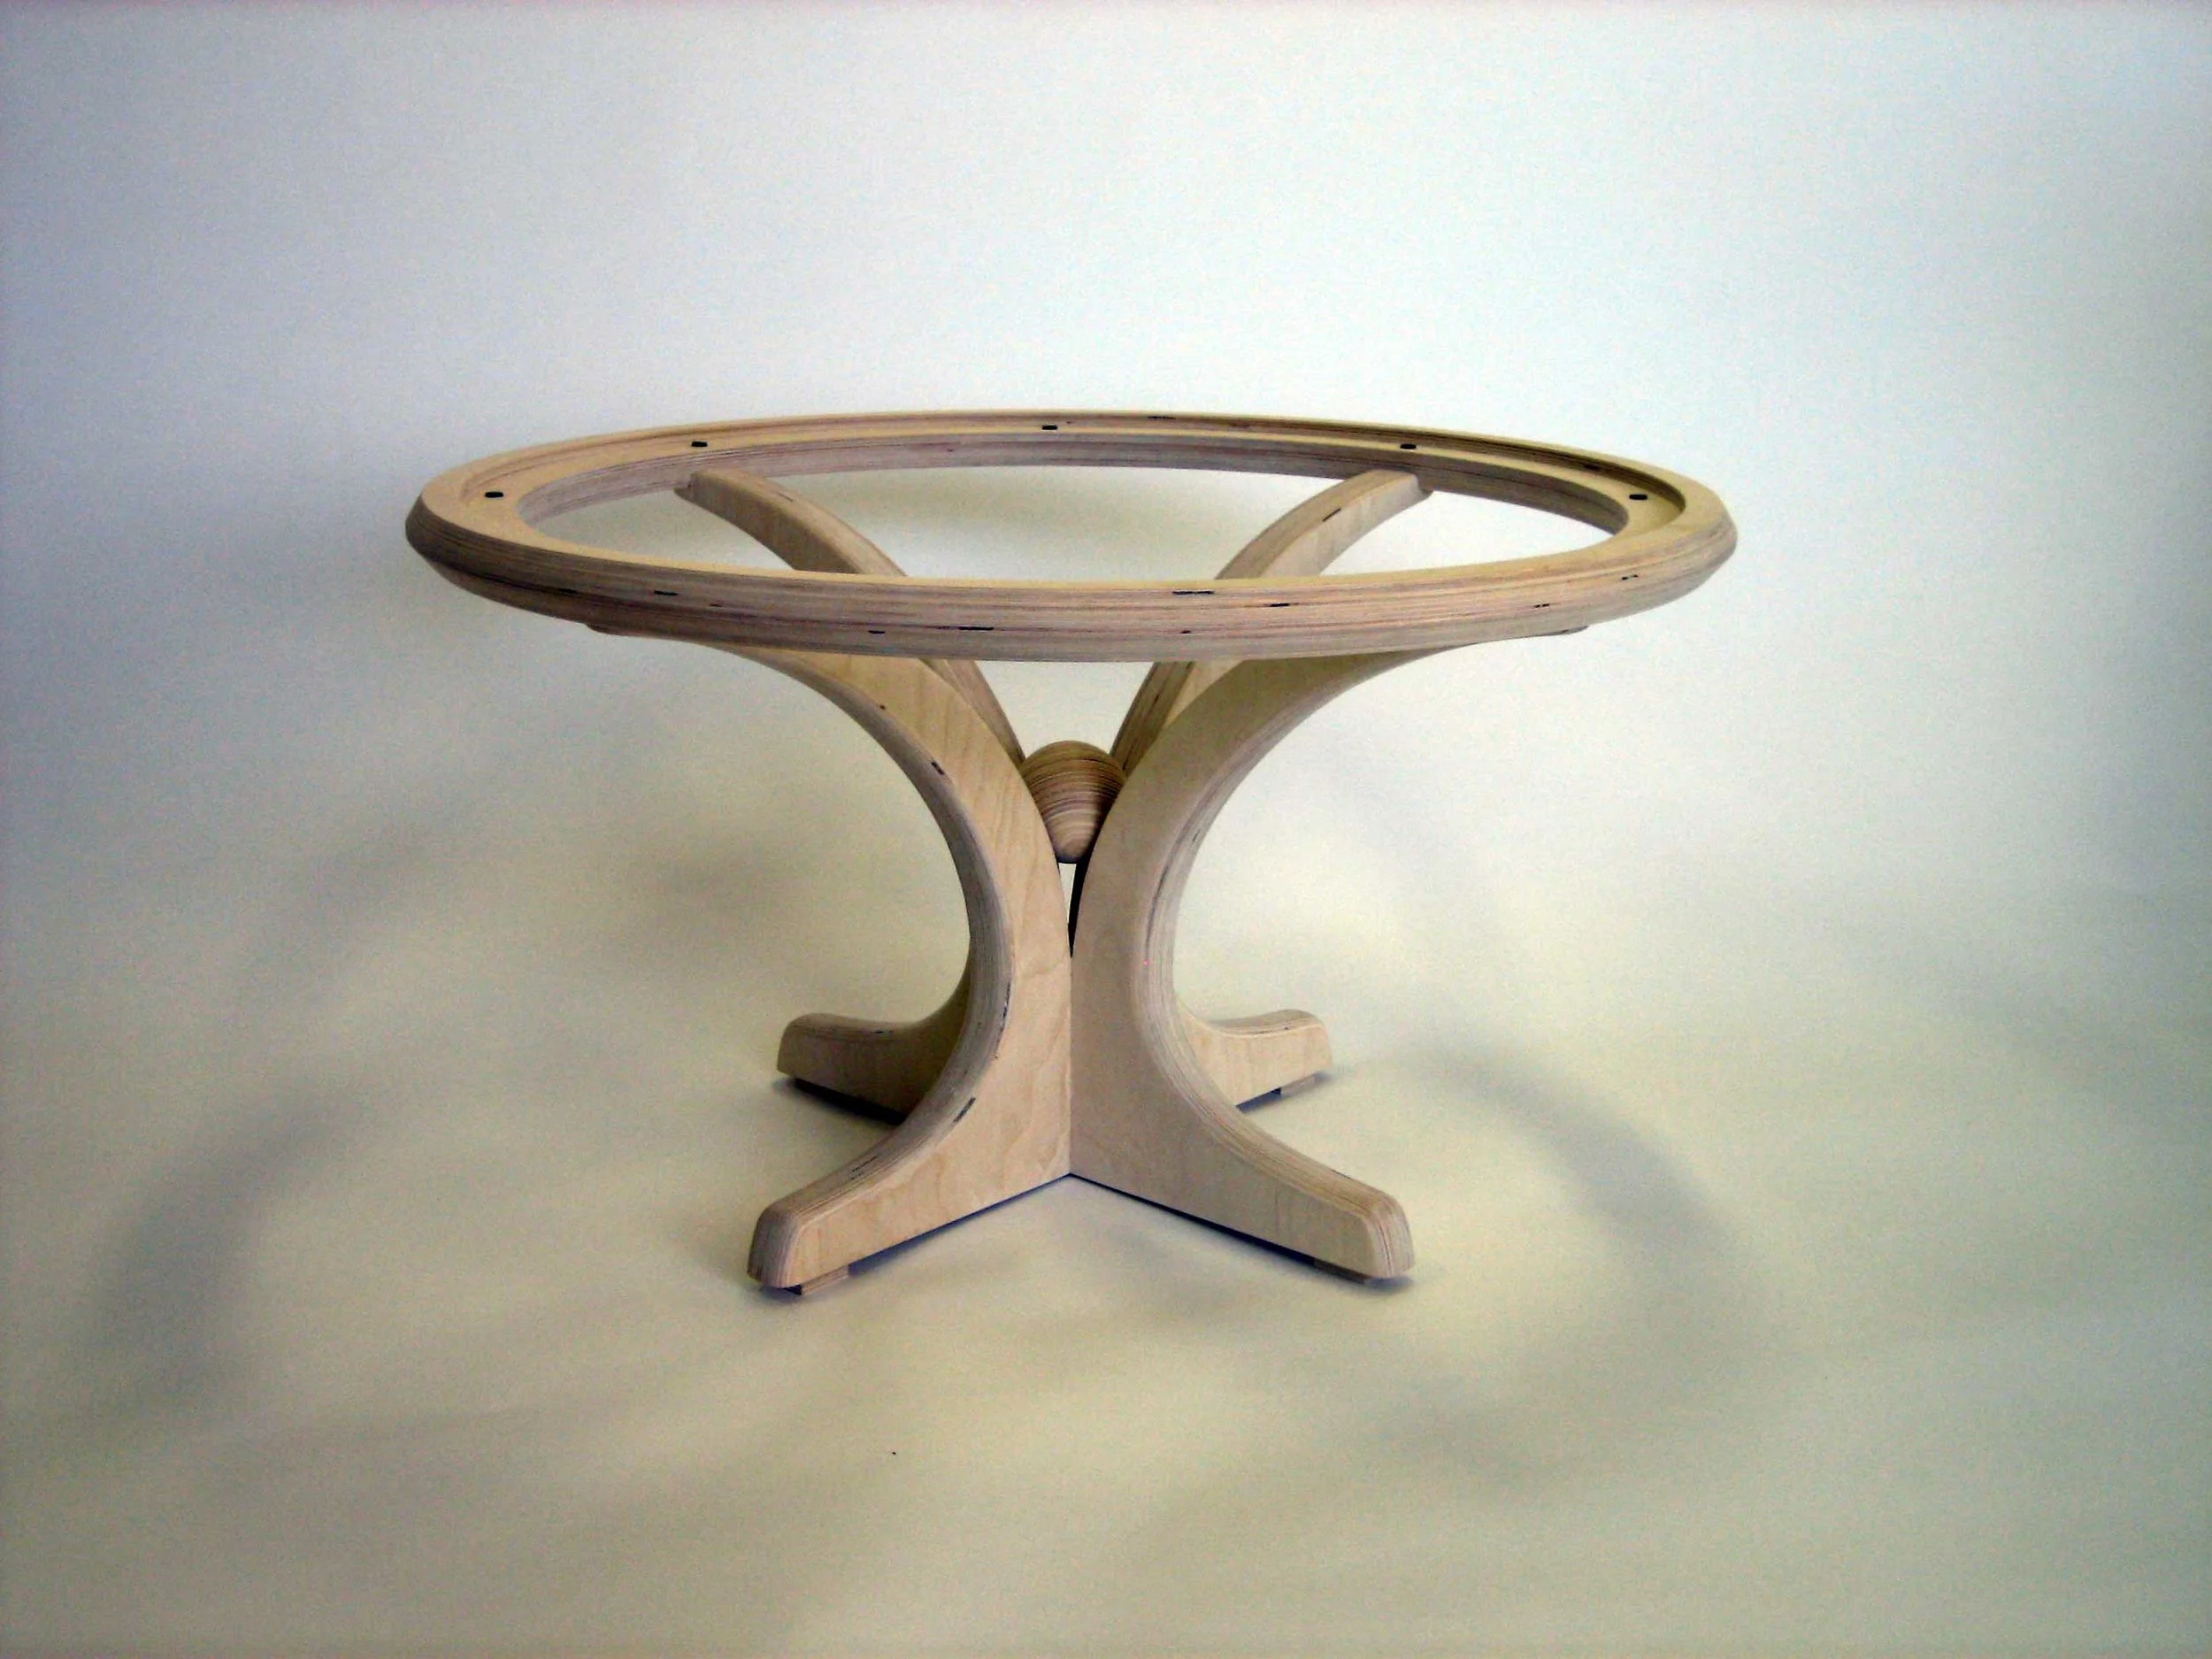
This coffee table was a favorite of mine from a commission for plywood furniture in a condo. I have used the design in many applications.
See the final results here


This coffee table was a favorite of mine from a commission for plywood furniture in a condo. I have used the design in many applications.
See the final results here
01 – The forms are all cut on a shaper.
02 – Small feet at the bottom of the legs add stability and keep the table from rocking on any floor. Small rubber pads set into the rim support the glass.
03 – The table with an ebony ball in the center reminded me of an arcade game.
04 – And again with a plywood ball.
A design executed long ago as a group project while teaching in a local college.

01 – A cardboard mock-up of my intension.

02 – Laying out the curves full-sized on the floor to get a sense of the scale.

03 – Pressing the veneer in a vacuum bag.

04 – Removing the veneer tape.

05 – Gluing on the solid edging involves lots of clamps.

06 – Trimming the edging with a router.

07 – Laying out a design on the surface.

08 – Routing close to the lines.
09 – Cutting to final opening size.

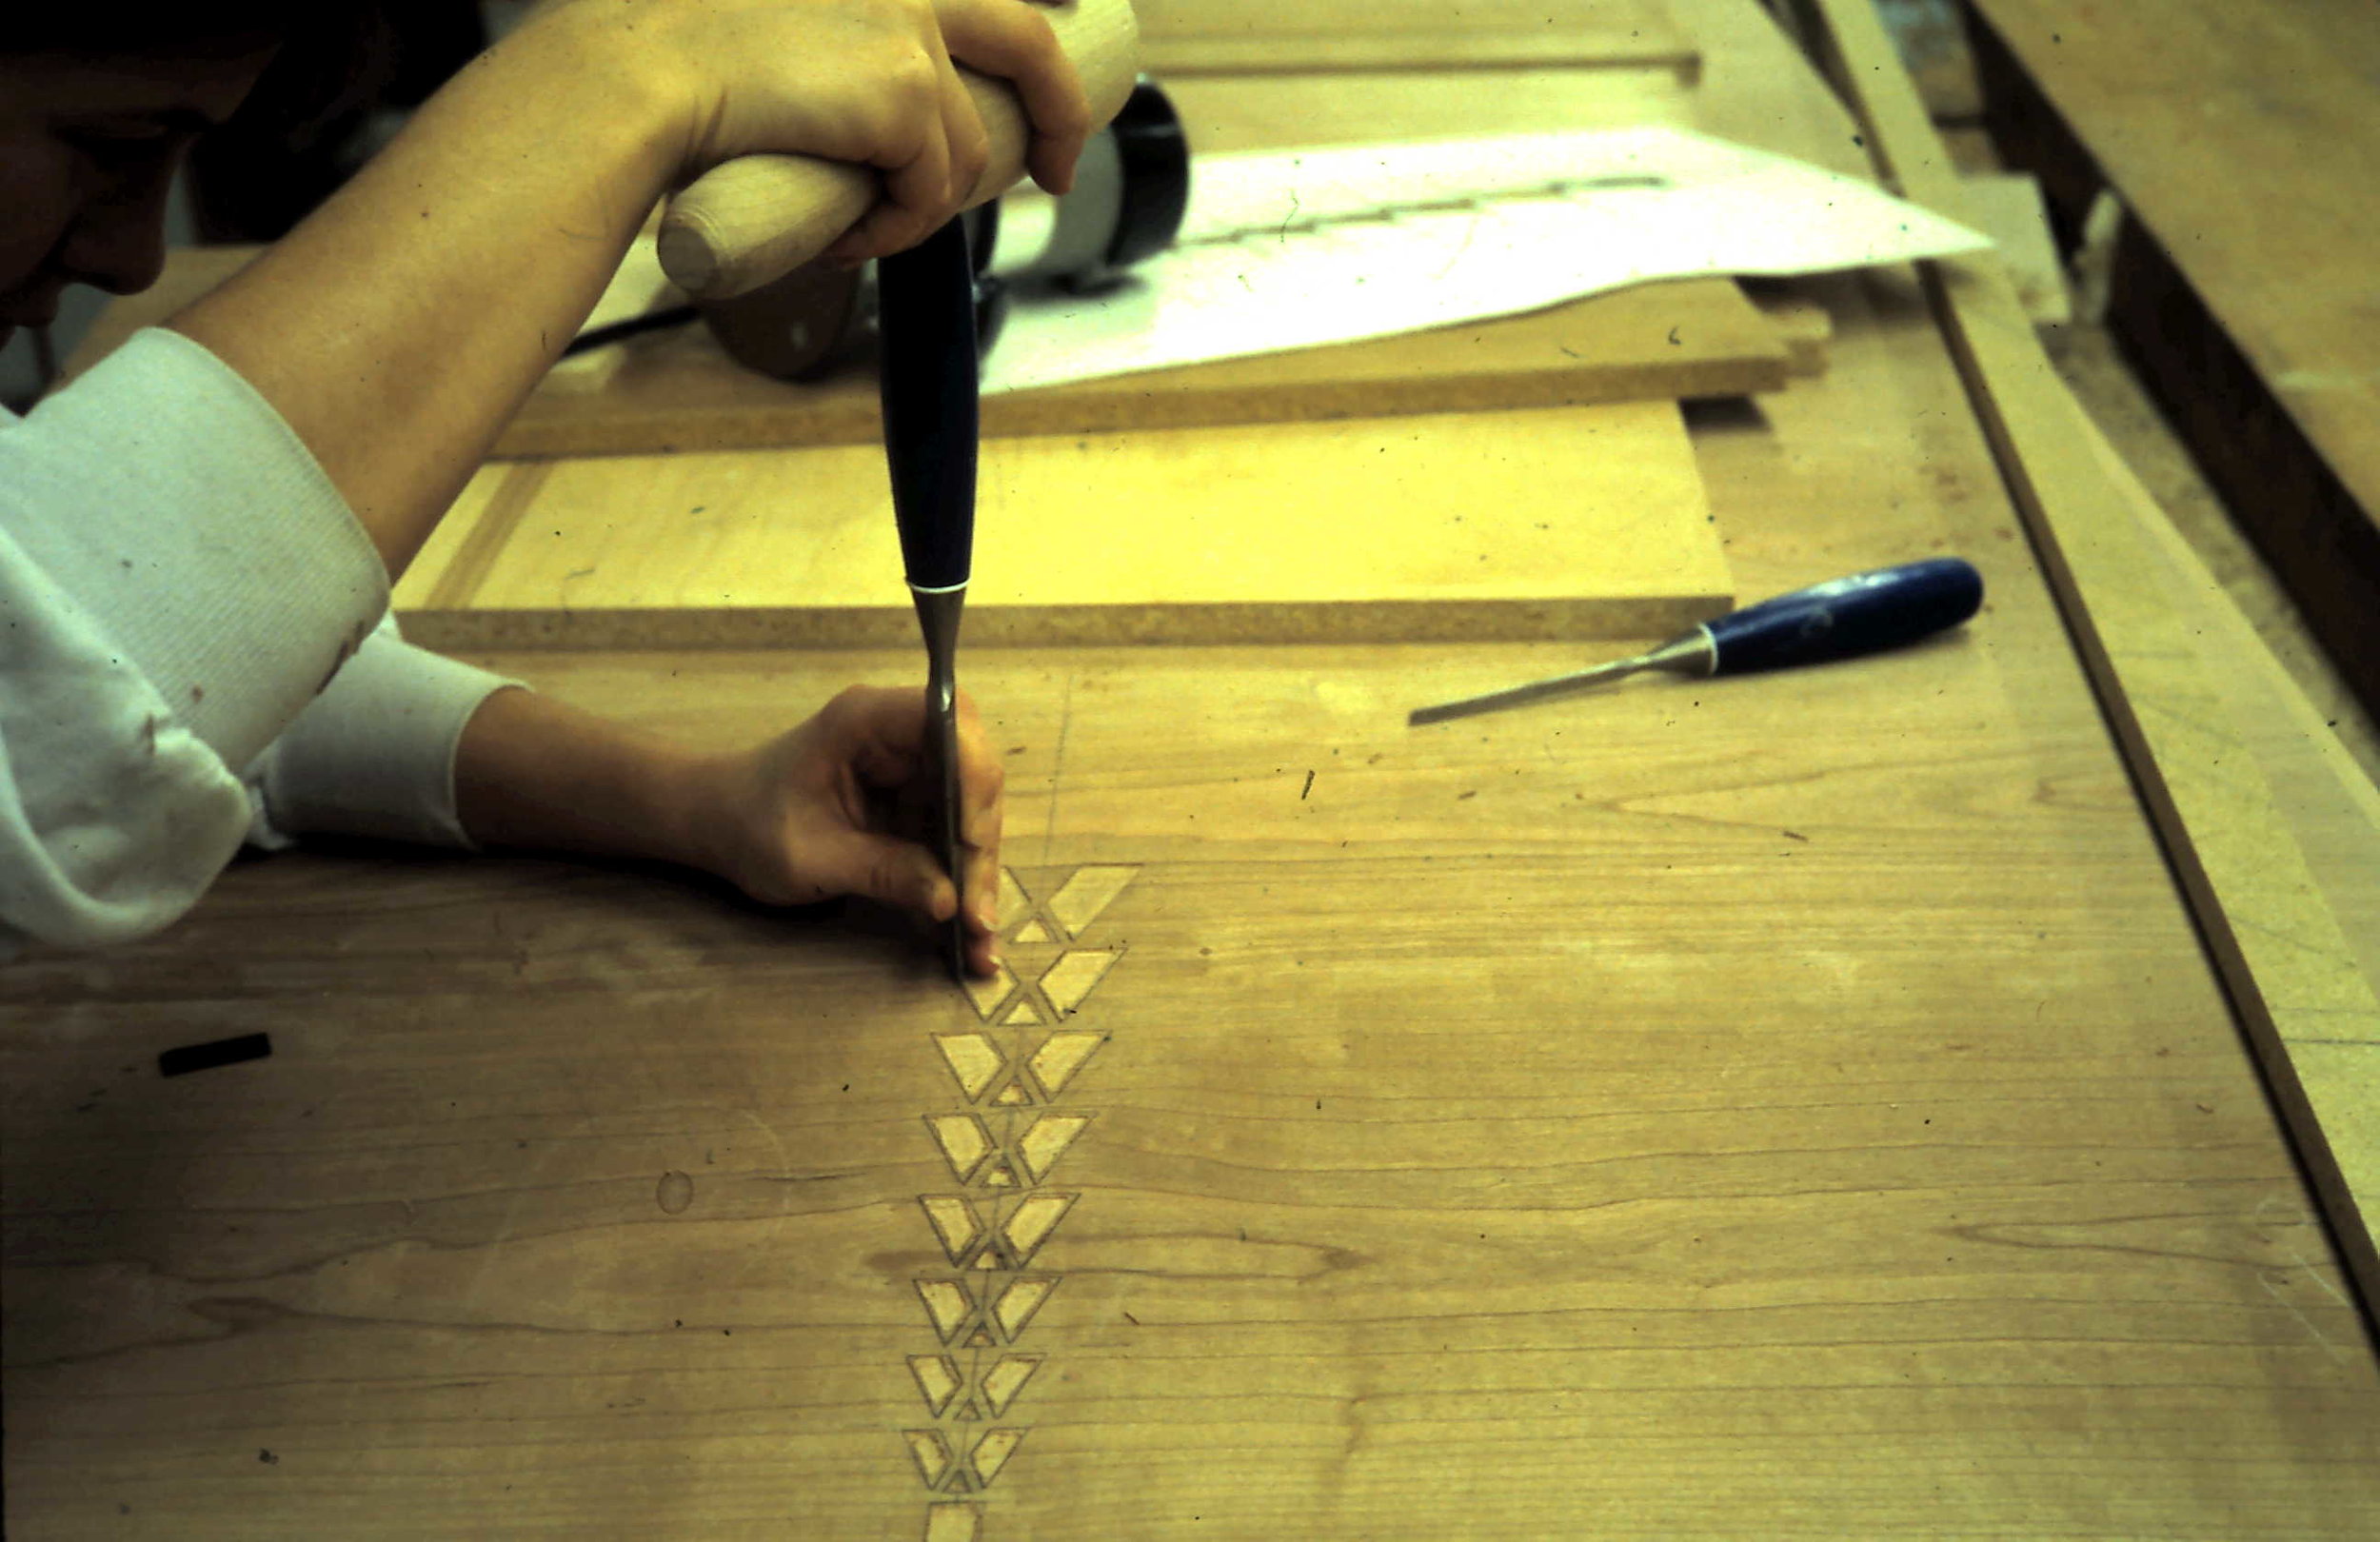
10 – Fitting the decorative veneer to the openings.

11 – Building up and trimming forms on the shaper.

12 – Gluing up the large arch.
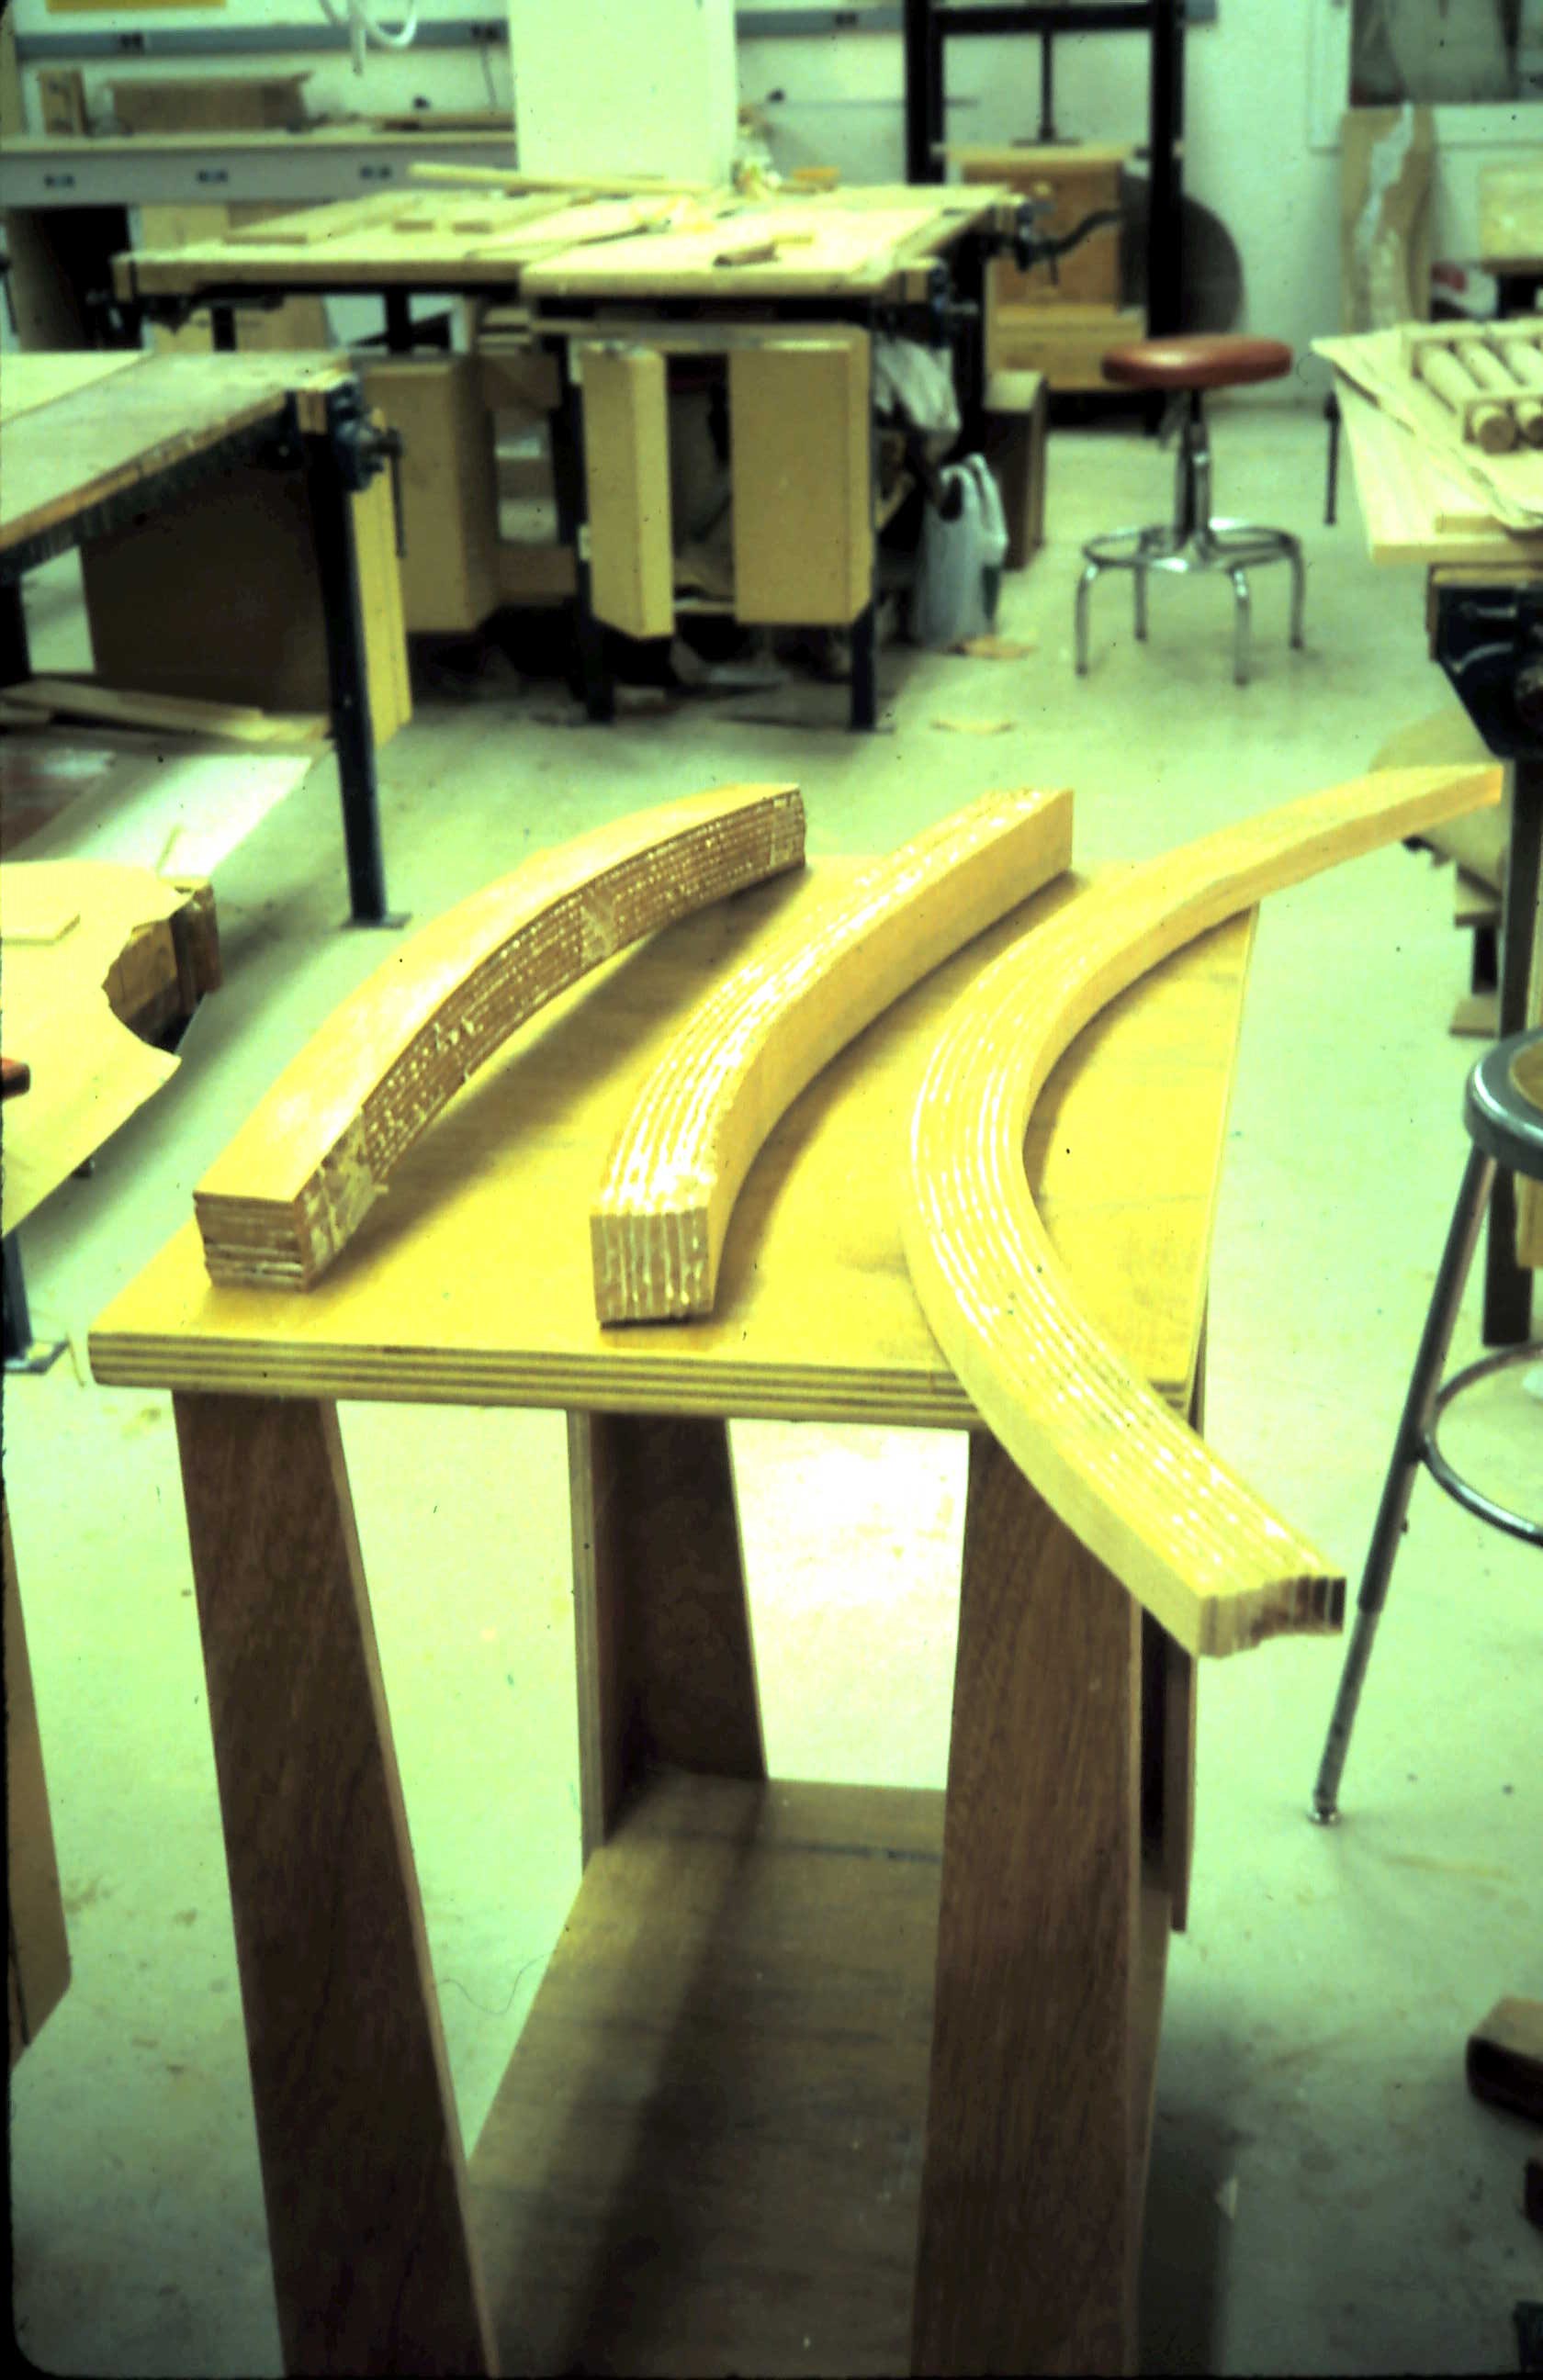
13 – A few of the glue-ups of component curves.

14 – Thickness planning a curve always drew a crowd.

15 – Gluing up the sub-top.

16 – Assembling the outer structure.

17 – Many glue-ups for the inner supporting curves.

18 – Clamping the inner curves in place to get a visual.

19 – An end view. Very close to my original intension.

20 – Cutting and fitting the inner curves.

21 – The assembled sub-structure with half the top in place.

22 – A groove is cut for inlay.

23 – The completed table.

24 – Staining the top before spraying. The base was also stained.

25 – The completed table. Pretty close to my original intension.
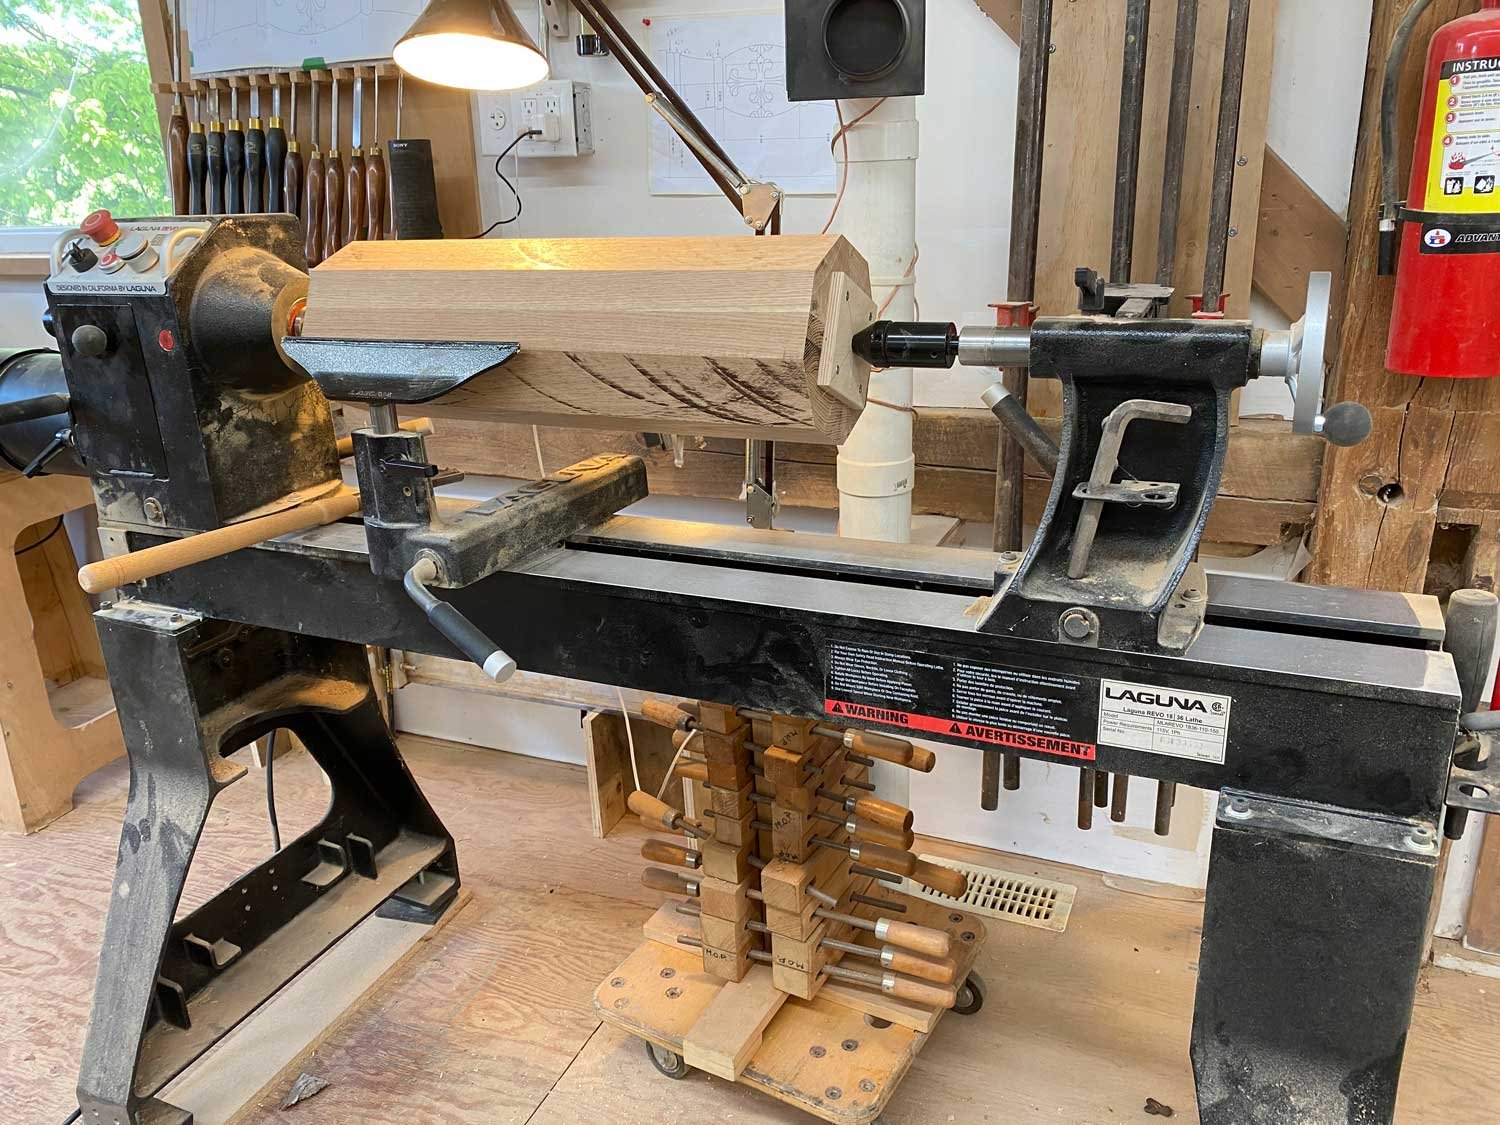
A turning commission from another furniture maker for a set of bed posts to be used on a residential bed.

Turning the headboard posts. Long spindles present their own challenges. You can see the shop-made lathe extension mounted on the lathe in the image.

Turning the footboard posts. The bed will be hand painted so sanding is limited to 150 grit.

The components are turned to spec and ready for pickup and inspection by the builder. The full scale drawing was a pleasure to follow. Not always the case.

The finished bed tastefully hand painted. I don’t always get to see the finished product when I work for other builders.


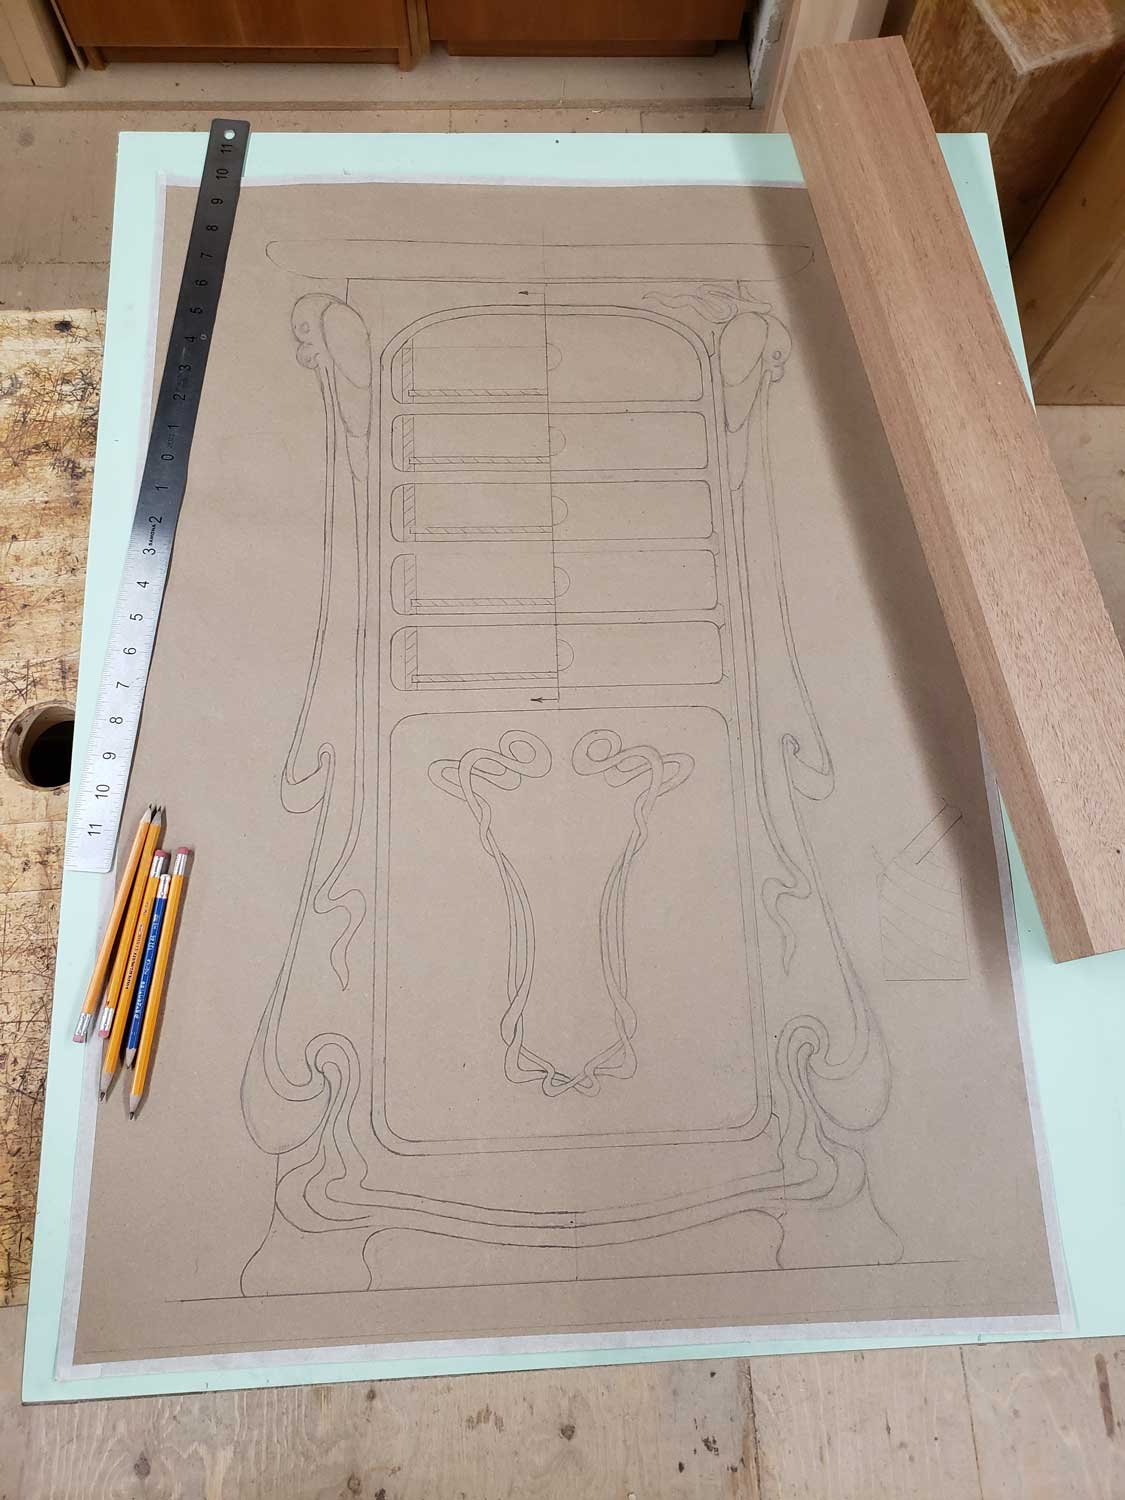
During the past few years I have found myself encouraging each new client to take a more active role in the design process because it often leads to interesting results and helps to keep the process fresh.
I find it difficult at first to determine what a client actually sees when they look at a drawing. Even a photograph from a book or magazine can lead to very different interpretations of the design details.
Often a client needs to see a mock-up of a design. For the table I am currently working on the client knew exactly what she wanted but only after she was able to see it. How does one find just the right arc of a leg or choose just the right material? As the maker I have to interpret the clients’ intension but also see the techniques behind the creation of the form and the relative cost of each decision in the process.
If a client decides to use solids I usually suggest we carve or texture the surface. If veneer is chosen we use decorative inlay. The choices for the client often seem overwhelming. My function in the process is to guide the client and limit the choices until he or she discovers what they want within the parameters of their budget.